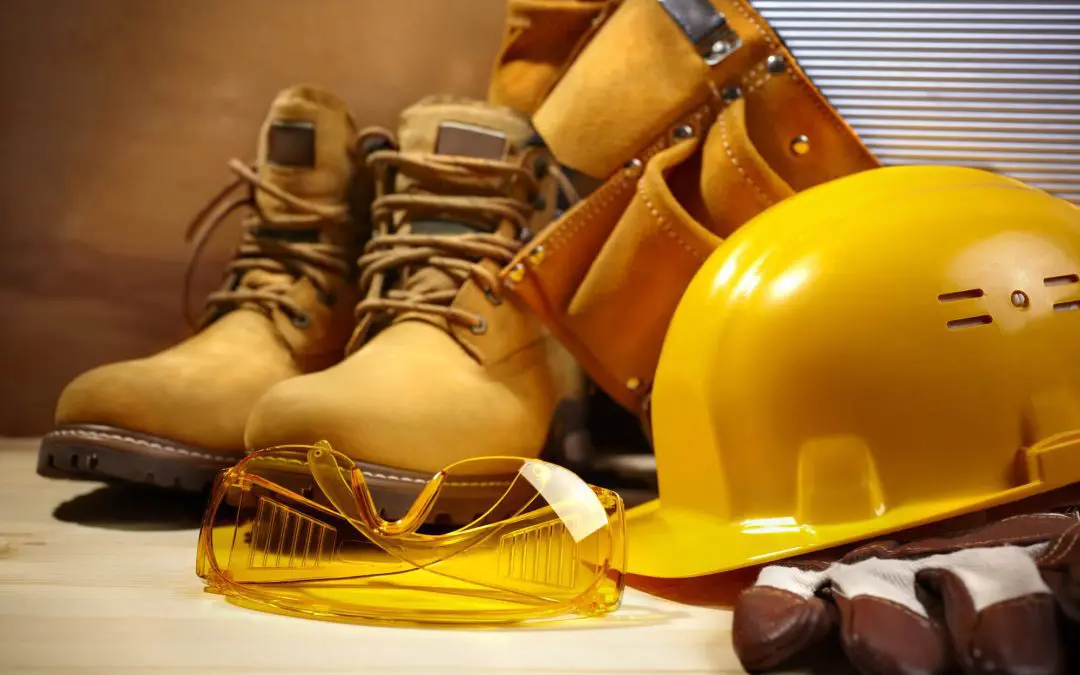
Tackling a DIY project can be both exciting and rewarding. Whether you’re remodeling a room, building furniture, or fixing a leaky faucet, doing it yourself allows you to learn new skills, save money, and take pride in your accomplishments. However, safety should always be your top priority. To ensure you’re ready if an accident happens, having the right DIY safety gear on hand is essential. Here’s a rundown of the must-have safety equipment every DIYer should own.
1. DIY Safety Gear for Your Eyes: Safety Glasses or Goggles
Protecting your eyes is non-negotiable when working on DIY projects. Safety glasses or goggles shield your eyes from flying debris, dust, and harmful chemicals. Whether you’re sawing wood, drilling, or using hazardous materials, these protective eyewear options help prevent eye injuries ranging from minor irritations to severe damage.
2. Hearing Protection
Power tools can be incredibly loud, and prolonged exposure to high noise levels can result in hearing loss. Earmuffs or earplugs are essential to protect your hearing. They’re particularly important when using saws, drills, and other noisy equipment. For the best protection, choose comfortable earplugs that fit snugly, or opt for earmuffs that fully cover your ears.
3. Gloves
Your hands are often the most exposed part of your body during DIY projects. A good pair of work gloves can protect your hands from cuts, scrapes, and chemical burns. There are different types of gloves for various tasks—rubber gloves for working with chemicals, cut-resistant gloves for handling sharp tools, and heavy-duty work gloves for general protection.
4. Respirator or Dust Mask
Many DIY tasks create dust, fumes, or other airborne particles that can be harmful if inhaled. A dust mask is suitable for basic projects like sanding or cutting wood, while a respirator is necessary for jobs involving toxic chemicals or mold. Make sure to choose the appropriate level of protection for the task at hand to safeguard your lungs.
5. Include Sturdy Footwear in Your DIY Safety Gear
Open-toed shoes or flimsy sneakers have no place in a DIY workspace. Proper footwear with steel toes or reinforced soles can prevent serious injuries from dropped tools, sharp objects, or heavy materials. Your shoes should also have good traction to help prevent slips and falls, especially when working on ladders or in wet conditions.
6. Hard Hat
A hard hat may seem excessive for some home projects, but if you’re working on anything overhead—like roofing, tree trimming, or even some demolition tasks—it’s a wise investment. A hard hat protects your head from falling objects, bumps, and other impacts that could cause serious injuries.
7. Knee Pads
Working on your knees for extended periods, such as when laying flooring or tiling, can lead to discomfort and even long-term damage. Knee pads cushion and protect your knees, making it easier and safer to work on projects that require kneeling.
8. High-Visibility Vest or Clothing
Wearing high-visibility clothing is crucial if your DIY project takes you outside, especially near roads or in low-light conditions. Reflective vests or brightly colored clothing ensure you’re easily seen by others, reducing the risk of accidents.
9. Keep a First Aid Kit with Your DIY Safety Gear
Accidents can happen, no matter how careful you are. A well-stocked first aid kit is essential for treating minor injuries like cuts, burns, or splinters on the spot. Make sure your kit includes bandages, antiseptic wipes, burn cream, tweezers, and pain relievers.
10. Tool Belt or Apron
A tool belt or apron isn’t just about convenience but also safety. Keeping your tools within easy reach prevents you from constantly bending over or walking back and forth, reducing the risk of trips and falls. Plus, it ensures that you have everything you need right at your fingertips so that you can stay focused on the task at hand.
Safety gear is an investment in your well-being, allowing you to enjoy your DIY projects confidently. Before starting any project, make sure you have the necessary protective equipment. Safety gear helps prevent injuries and ensures your projects are completed successfully and without unnecessary risks. Remember, safety first—your health and safety are worth more than any project.
FAQs on DIY Safety Gear
How often should I replace my safety gear, even if it appears undamaged?
Safety gear should be replaced according to the manufacturer’s recommendations, which can vary by item. For instance, hard hats typically have a lifespan of about five years, while respirator filters should be replaced after a certain number of uses. Even if your gear looks fine, wear and tear can compromise its effectiveness over time.
What should I do if my safety gear gets damaged during a project?
Immediately stop working and assess the damage. Replace any compromised gear before continuing the project. For example, if your gloves tear or your safety glasses crack, using them further could leave you vulnerable to injury.
How can I determine if my safety gear meets industry standards?
Look for certifications on your safety gear, such as ANSI (American National Standards Institute) or OSHA (Occupational Safety and Health Administration) approvals. These certifications indicate that the gear meets specific safety standards for impact resistance, chemical protection, and other criteria relevant to your DIY projects.
What should I include in a DIY-specific first aid kit?
In addition to standard first aid items like bandages and antiseptic wipes, include items specific to DIY injuries, such as eye wash solution, burn gel, and adhesive strips designed for cuts from sharp tools. It’s also helpful to have a small mirror for inspecting injuries and a cold pack for immediate pain relief from sprains or bruises.
Anderson Home Inspections offers home inspection services in Central Ohio. Contact us to schedule an inspection.

